
Introduction to the Elephant Crochet Project
Crocheting is a popular and adaptable activity that allows you to create gorgeous and complicated designs. Producing a crocheted elephant is a lovely activity that many crochet lovers tackle. In this introduction, we’ll look at the supplies and tools needed to get started on this enjoyable crocheting trip.
Materials and Equipment
A. Materials list for crocheting an elephant
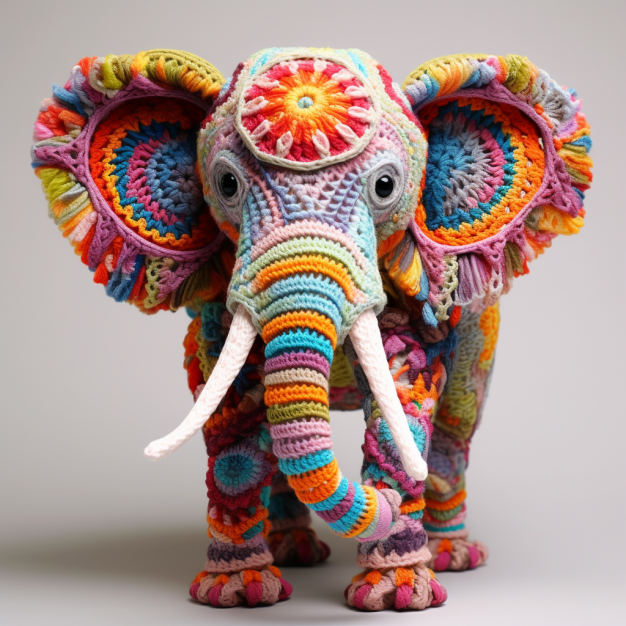
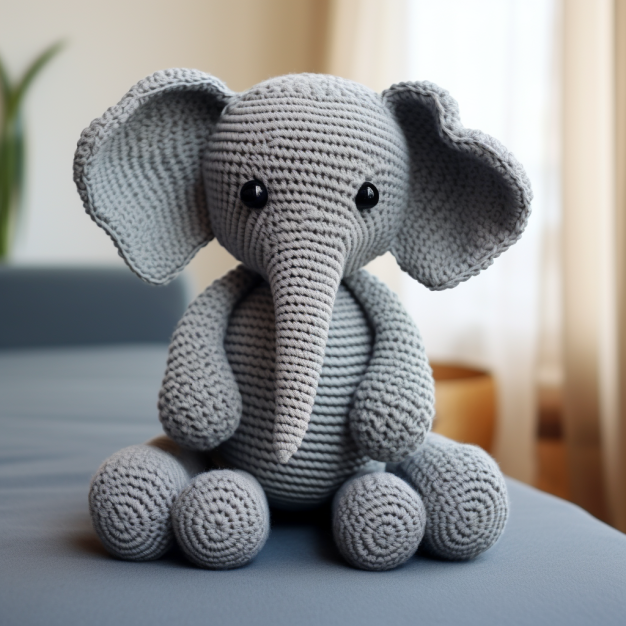
To begin crocheting an elephant, you will need a few essential supplies. You’ll need yarn, specifically in colors that best represent the elephant’s ideal appearance. Elephant colors like gray, light blue, and pastel can be chosen based on personal taste. You’ll also need stuffing to make your elephant feel fluffy and huggable. Popular filling materials include polyester fiberfill and cotton stuffing.
B. Core Tools
You’ll need a few essential tools to make your crocheted elephant come to life. A crochet hook is the most critical instrument for crocheting. The thickness of the yarn you chose will determine the size of the crochet hook. To obtain the correct tension, choose a crochet hook that is consistent with the thickness of the yarn. Another essential piece of equipment is a pair of scissors for trimming cords and cutting thread. A yarn needle will also be required for weaving loose ends and sewing the elephant’s components together.
Other equipment you might need while crocheting are stitch markers to keep track of your work and a tape measure to ensure precise sizing. While not required, adding safety eyes or buttons to your crocheted elephant’s face can give a delightful touch if desired.
Crocheting an elephant is fascinating and requires a few specialized materials and tools. Gather the necessary yarn, stuffing fabric, crochet hook, scissors, and yarn needle to begin constructing your adorable and one-of-a-kind crocheted elephant. So grab your stuff and be ready to embark on a creative and exciting trip.
Choosing a Pattern
A. Choosing an elephant crochet pattern
Choosing a proper crochet design is vital before beginning the task of crocheting an elephant. Fortunately, there are many patterns to select from online, in books, and on crafting websites. Explore numerous possibilities until you discover one that matches your skill level and desired outcome. Consider the story of intricacy, the finished elephant’s size, and any unique methods or stitches required.
B. Considerations when choosing a design
There are a few essential aspects to consider while choosing a crochet pattern for the elephant. To begin, evaluate your crochet skill level to ensure you select a way that matches your talents. Some designs may be more appropriate for novices, while others may necessitate more sophisticated methods. Consider the finished elephant size as well. If you want a larger or smaller plush toy, seek a design that specifies the length.
Another element to consider is the pattern’s level of detail. Some ways may have a simplified design, which is excellent for individuals who like a more basic aesthetic, but others may include elaborate elements such as textured stitches or decorations. Assessing the time commitment required to accomplish the job is also essential. Choose a pattern with less complicated components if you have limited time or desire a quick job.
How to Begin Crocheting Elephants
A. Putting together a slipknot and a foundation chain
Creating a slipknot and a foundation chain is critical before beginning the crochet work for the elephant’s body. The slipknot marks the beginning of your crochet item, while the foundation chain determines the desired length. To form a slipknot, make a loop with the yarn and pull the free end through it, gradually tightening it.
Once you’ve tied the slip knot, you may start working on the foundation chain. This chain serves as the foundation for the first row of stitches. Hold the slipknot in one hand to form the chain, and draw the yarn through the loop with your crochet hook, making a new loop. Repeat this step until you reach the pattern’s requested length.
B. Begin crocheting for the elephant’s body
You may begin crocheting the elephant’s body with the slipknot and foundation chain completed. Carefully follow the pattern directions, taking you through each stitch and row. The pattern will typically direct you to work single crochets, double crochets, or certain stitch combinations to generate the appropriate shape and texture. Pay close attention to instructions for raising or decreasing stitches to properly form the elephant’s body.
Check your tension regularly as you work on your crochet project to ensure the stitches are uniform. This will help keep the elephant’s general appearance and size as you crochet.
Choosing a crochet pattern for the elephant entails considering aspects such as skill level, desired size, level of intricacy, and time commitment. Once you’ve decided on a design, make a slipknot and a foundation chain to start crocheting the elephant’s body, following the pattern directions for each stitch and row. You’ll be well on your way to making a charming crocheted elephant if you have patience and pay attention to detail.
Crocheting the Elephant Body
A. Detailed crochet instructions for the body
Crocheting the elephant’s body entails a succession of stitches and shaping according to the pattern. The pattern instructions may propose employing specific stitch types or combinations, such as single or double crochet stitches, to obtain the appropriate shape and density. Crocheting the body often begins with a foundation chain and is continued by single or double crochet rows to make a cylindrical shape. The number of rows required will vary depending on the size of the elephant requested.
B. As needed, shape and increase stitches
Depending on the pattern, the elephant’s body may have bulges or thinner sections for limbs or the belly. The design may instruct you to add or decrease stitches in specific spots to obtain these forms. This is known as shaping, and following the pattern instructions for the desired effect properly is critical. Increasing stitches entails making two or more stitches in the same stitch, and decreasing stitches involves skipping one or more. A mixture of these procedures can be utilized to produce the desired shape.
Constructing the Head

A. Separately crocheting the elephant’s head
Crocheting the elephant’s head usually entails working on a separate piece once the body is finished. The pattern instructions typically provide extensive information for the measurements of the head as well as specifications such as the number of stitches required to work each side. The pattern may instruct you to use certain stitch types or refer to a specific embroidery technique. It is critical to carefully follow directions while shaping the head when you may need to increase or decrease stitches.
B. Join the head and the body
You’ll need to sew the head to the body to keep it in place. Place the chair where you want it and sew numerous stitches around each corresponding thread on the body and the head with a yarn needle. Some patterns recommend crocheting the head and body together to prevent sewing separately. In this situation, single crochet stitches will be used to link the head to the body.
Ears and Trunk Construction
A. Instructions for making elephant ears
To crochet the elephant’s ears, the pattern must specify the number of stitches to the chain to achieve the desired length. Afterward, you’ll work multiple rows with various stitch kinds to produce the ideal shape. The ear is then folded in half and attached to the skull at the base.
B. Instructions for crocheting the trunk and attaching it to the head
Finally, crocheting the elephant’s trunk usually requires another set of instructions for the desired length and width. You will then add texture and shaping by working many rows in different stitch styles. When finished, the trunk is sewn onto the head. It is critical to carefully follow directions when shaping the box, which may require shaping similar to that of the head. You’ll soon have a finished crocheted elephant with gorgeous ears and a box to match if you have patience and attention to detail.
Adding Details
A. Crocheted eyes, tusks, and other facial characteristics
Crocheting the eyes, tusks, and other vital facial features to bring the elephant to life is a common finishing touch. Depending on the pattern, eyes can be made from various colored yarn, buttons, safe eyes, or embroidered onto the head. Similarly, tusks can be crocheted using a contrasting yarn color before being attached to the proper face portion. Other face characteristics, such as the mouth or brows, can be embroidered or crocheted.
B. Include any extra ornamental components
After the eyes and tusks are positioned, add some decorative components. A pattern can instruct you to crochet a bow tie, ribbon for the elephant’s neck, or an item for the trunk. You can also add stitch ornaments or other elements to personalize the elephant.
General Assembly
A. Detailed instructions for assembling all of the elephant’s parts
Once all of the elephant’s separate sections have been completed, the assembly phase entails connecting the pieces to produce the finished product. Follow the pattern directions for the order in which the various components should be joined, leaving a space for stuffing if needed. Depending on the pattern, you may need to sew or crochet the elephant’s limbs, legs, or tail to the body.
B. Securing and completing crochet work
The final stage in crocheting an elephant is securing and completing your work. This method varies depending on the pattern and personal choice, but it usually entails weaving in any remaining yarn ends to keep them in place. All stitches must be firmly tied off to preserve the elephant’s longevity. Finally, carefully stuff the elephant to the appropriate fullness, ensuring no gaps or lumps. The elephant is finished, ready to be shared, gifted, or displayed, with holes sewn or crocheted shut.
Finishing Touches
A. Tying up loose ends and cleaning up the job
Before calling for crochet creation finished, it’s critical to tie up loose ends and ensure the work is neat and polished. Weaving in loose ends of yarn left over from the crocheting process is one of the finishing touches. Using a yarn needle, carefully thread the loose ends through the stitches to secure them and avoid unraveling. Taking the effort to weave in these loose ends carefully gives the product a professional look and ensures its longevity over time.
B. Personalization and optional embellishments
After the primary work has been accomplished and the loose ends have been tidied up, the final touches allow for personalization and the addition of optional embellishments. Additional items such as buttons, ribbons, or beads can be used to enhance the overall design of the creation, depending on the desired impact. These extra decorations can lend a touch of individuality and originality to the product, allowing the crocheter to personalize it. Whether it’s a bright bow, a little charm, or experimenting with different stitch patterns for a decorative border, the finishing touches are crucial in making the creation genuinely individualized and unique.